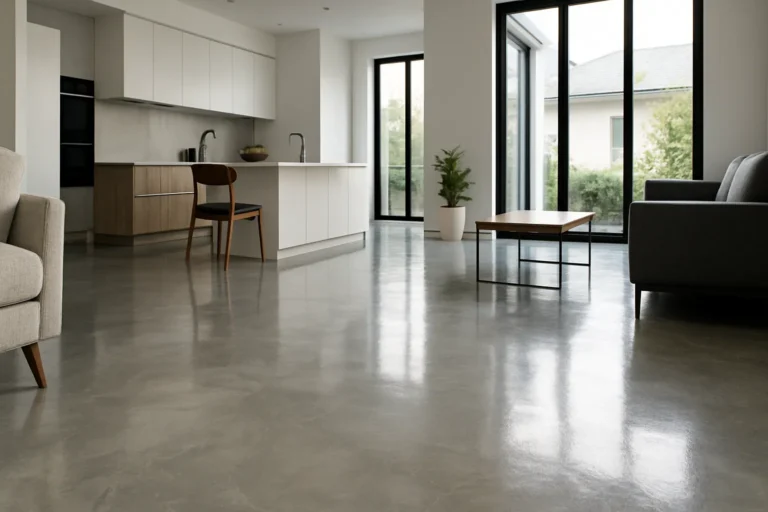
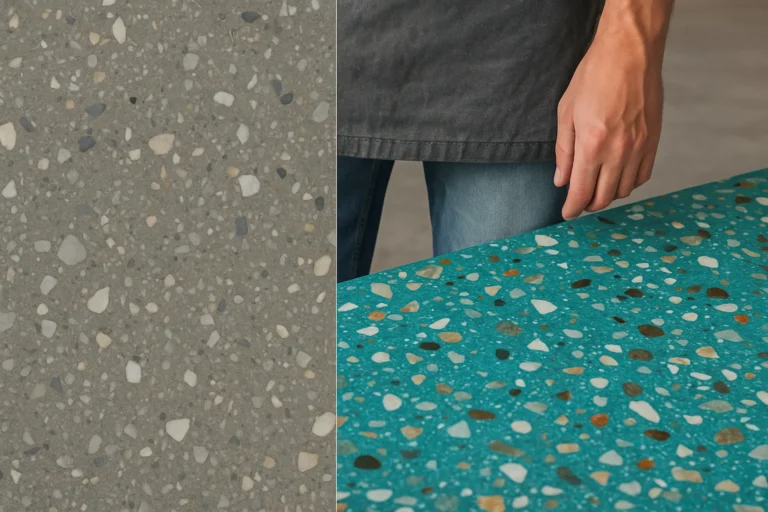
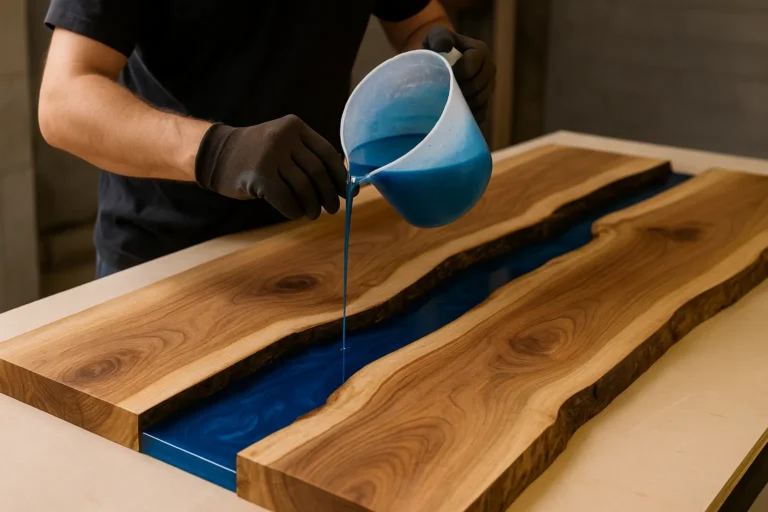
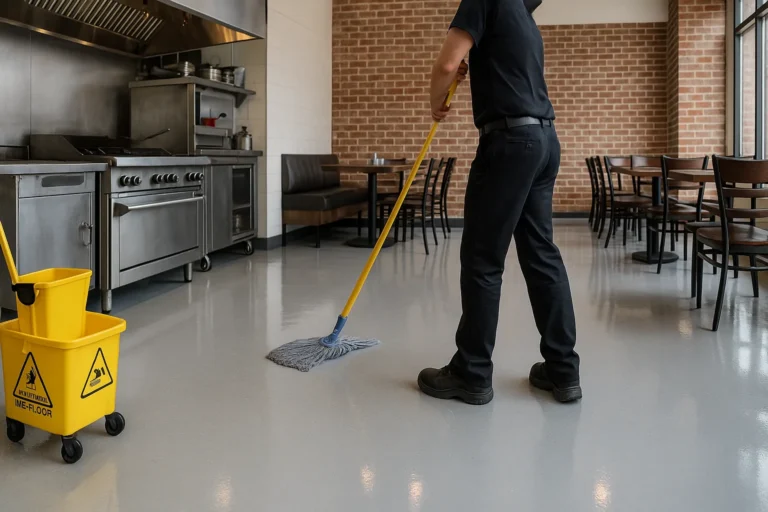
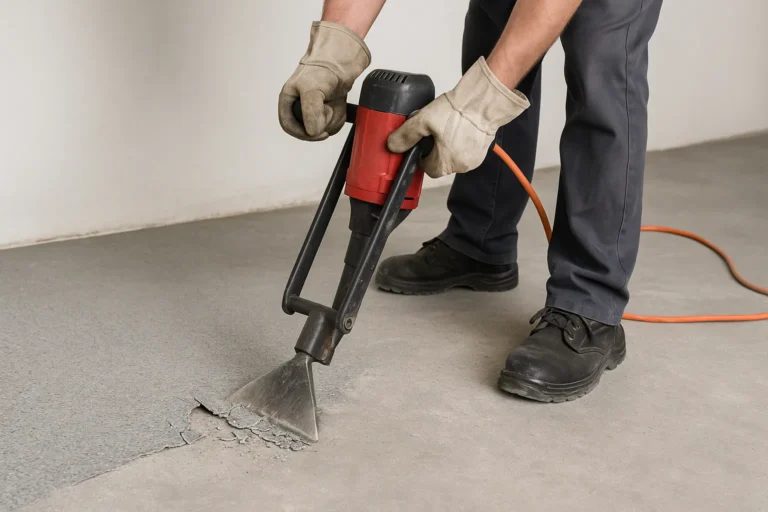
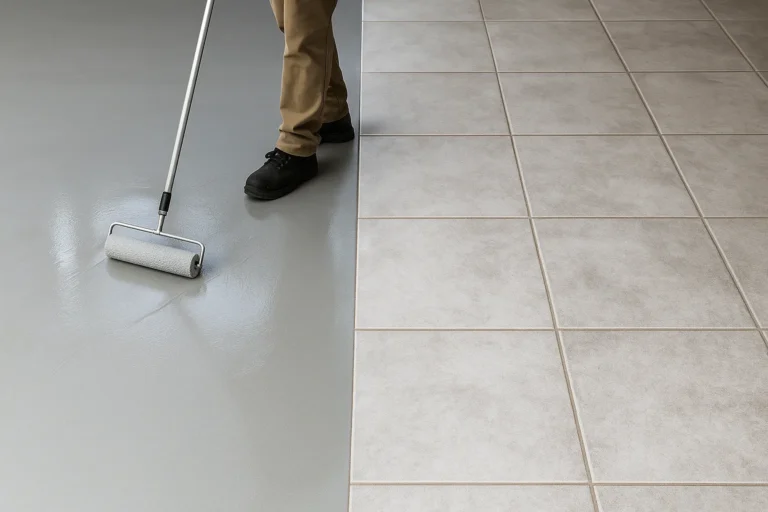
Installing a self-leveling epoxy floor can transform a rough, uneven substrate into a smooth, high-performance surface. This blog post will guide you through the detailed steps and considerations for applying self-leveling epoxy over both plywood and cement board, as expertly demonstrated by concrete coatings expert, Bob Harris.
Introduction to Self-Leveling Epoxy
Self-leveling epoxy is renowned for its ability to create a durable, seamless, and shiny surface that can withstand heavy foot traffic and industrial activities. It’s ideal for use in garages, warehouses, and manufacturing facilities where a tough, long-lasting floor is crucial.
Required Materials
- Perdure E02 Resin Primer: This epoxy primer prepares your plywood or cement board substrate for the subsequent epoxy layers.
- Perdure FE80 Flexible Epoxy: Acts as a base coat over the primed surface.
- Dry Sand: For broadcasting over the wet epoxy to add texture and grip.
- Perdure E10 Bodycoat: A pigmented epoxy for the main color layer.
- Perdure P72 Polyaspartic Sealer: This topcoat seals and protects the epoxy surface.
Step-by-Step Installation Guide
- Priming the Substrate
- Begin by applying Perdure E02 directly onto the cleaned and prepped plywood or cement board. This primer ensures a strong adhesion for the subsequent layers of epoxy.
- Applying the Base Coat
- After the primer has set, apply Perdure FE80. This flexible epoxy acts as the base coat and is essential for accommodating any flex or movement in the plywood.
- While the FE80 is still wet, broadcast dry sand liberally over it until the epoxy is completely covered and no wet spots are visible. It’s crucial to use perfectly dry sand to avoid any moisture complications.
- Sanding and Cleaning
- Allow the FE80 to cure for 18-20 hours. Then, broom off the excess sand and thoroughly vacuum the surface to prepare for the next epoxy layer.
- Applying the Bodycoat
- Roll on the Perdure E10 bodycoat, pigmented in your choice of color. This layer provides the aesthetic look and depth of the flooring.
- Sealing the Floor
- Finally, apply the Perdure P72 polyaspartic sealer using an 18-inch roller for an efficient and smooth finish. Keep extra clean roller covers on hand for a pristine application.
Important Tips and Tricks
- Ensure Surface Preparation: The quality of the finished floor heavily depends on the initial preparation of the substrate. Make sure it is clean, dry, and free of any debris or oils before starting.
- Use Quality Materials: Opt for high-quality epoxies and sealers to ensure longevity and performance.
- Maintain Adequate Ventilation: Epoxy application requires good ventilation due to the fumes released during curing.
Installing a self-leveling epoxy floor requires careful planning and execution, but with the right materials and techniques, you can achieve a professional-grade finish. This durable and aesthetically pleasing solution is an excellent choice for many industrial and commercial spaces.
Video Link:
