What is self leveling concrete?
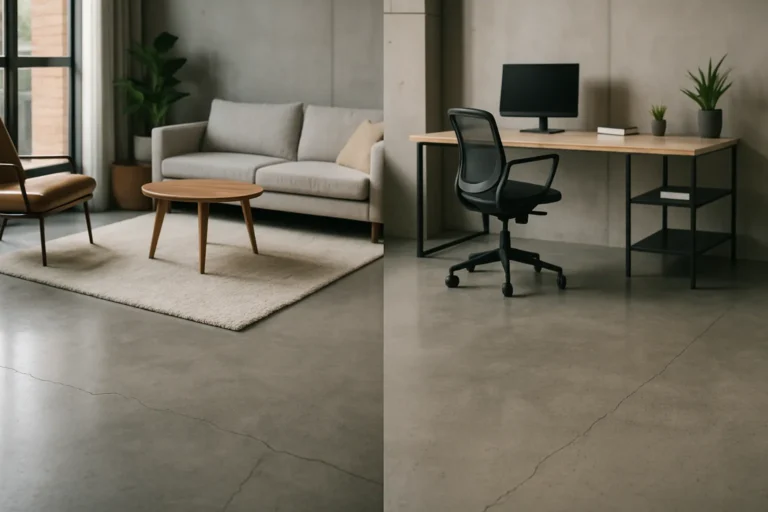
Self leveling concrete is a specialized type of concrete that flows easily and sets to a smooth, level surface without the need for extensive troweling. It is designed to spread across a surface and fill in low spots, creating a flat and even base. This makes it ideal for preparing floors for the installation of tiles, carpets, or other floor coverings. Unlike traditional concrete, self leveling concrete is mixed to a thinner consistency, allowing it to flow and settle into place with minimal effort.
- Flows easily and sets to a smooth surface
- Ideal for creating a flat base for floor coverings
- Thinner consistency compared to traditional concrete
Benefits of using self leveling concrete
Using self leveling concrete offers several advantages. Firstly, it saves time and labor as it requires less manual effort to achieve a smooth finish. Secondly, it provides a high-quality, durable surface that can withstand heavy foot traffic and wear. Additionally, self leveling concrete can be applied over a variety of substrates, including wood, concrete, and tile, making it versatile for different projects.
- Saves time and labor
- Provides a durable surface
- Can be applied over various substrates
Types of self leveling compounds
There are different types of self leveling compounds available, each suited for specific applications. Cement-based compounds are commonly used for interior floors and provide a strong, smooth finish. Gypsum-based compounds are ideal for areas with moisture concerns, as they offer better resistance to water. Polymer-modified compounds enhance the flexibility and adhesion of the concrete, making them suitable for challenging surfaces.
|
Type of Compound |
Best For |
|
Cement-based |
Interior floors |
|
Gypsum-based |
Moisture-prone areas |
|
Polymer-modified |
Challenging surfaces |
Preparing the Surface for Self Leveling Concrete
Cleaning and repairing the subfloor
Before applying self leveling concrete, it’s crucial to clean and repair the subfloor. Remove any debris, dust, or grease that could interfere with the bonding process. Inspect the surface for cracks or holes and fill them with a suitable patching compound. Ensuring a clean and stable base will help the self leveling concrete adhere properly and create a smooth finish.
- Remove debris, dust, and grease
- Inspect and fill cracks or holes
- Ensure a clean and stable base
Priming the surface
Priming the surface is an essential step to enhance the adhesion of self leveling concrete. A primer creates a bond between the subfloor and the concrete, preventing issues like delamination. Apply the primer evenly using a roller or brush, and allow it to dry completely before proceeding with the concrete application.
- Enhances adhesion
- Prevents delamination
- Apply evenly and allow to dry
Creating barriers for containment
To prevent the self leveling concrete from spreading beyond the desired area, create barriers for containment. Use foam tape or wooden strips to outline the perimeter of the area where the concrete will be applied. This ensures that the concrete stays within the designated space and achieves the desired thickness.
- Use foam tape or wooden strips
- Outline the perimeter
- Ensure concrete stays within designated space
Mixing Self Leveling Concrete
Choosing the right mix ratio
Selecting the correct mix ratio is vital for achieving the desired consistency and performance of self leveling concrete. Follow the manufacturer’s instructions to determine the appropriate water-to-concrete ratio. Using too much water can weaken the concrete, while too little can make it difficult to spread.
- Follow manufacturer’s instructions
- Determine water-to-concrete ratio
- Avoid weakening or difficult spreading
Tools needed for mixing
Proper tools are essential for mixing self leveling concrete effectively. A drill with a mixing paddle attachment is commonly used to ensure a thorough and even mix. Additionally, a large bucket or mixing container is necessary to hold the concrete and water during the mixing process.
- Drill with mixing paddle attachment
- Large bucket or mixing container
- Ensure thorough and even mix
Proper mixing techniques
To achieve a smooth and consistent mixture, follow proper mixing techniques. Begin by adding the water to the mixing container, then gradually add the self leveling compound while continuously stirring. Mix until the compound reaches a lump-free, pourable consistency. Avoid over-mixing, as this can introduce air bubbles into the mixture.
- Add water first, then compound
- Stir continuously for consistency
- Avoid over-mixing to prevent air bubbles
Applying Self Leveling Concrete
Pouring techniques
When applying self leveling concrete, use effective pouring techniques to ensure even coverage. Start by pouring the mixture at one end of the area and allow it to flow naturally across the surface. Use a gauge rake to help spread the concrete evenly and achieve the desired thickness.
- Pour at one end and allow to flow
- Use a gauge rake for even spreading
- Achieve desired thickness
Spreading and smoothing the mixture
After pouring, it’s important to spread and smooth the self leveling concrete to eliminate any air pockets or uneven areas. Use a smoothing tool or trowel to gently work the surface, ensuring a flat and level finish. Work quickly, as the concrete begins to set within minutes.
- Use a smoothing tool or trowel
- Eliminate air pockets and uneven areas
- Work quickly to ensure a level finish
Working in sections for larger areas
For larger areas, it’s advisable to work in sections to maintain control over the application process. Divide the space into manageable sections and complete one section before moving on to the next. This approach helps ensure consistent coverage and prevents the concrete from setting unevenly.
- Divide space into sections
- Complete one section at a time
- Ensure consistent coverage
Curing and Finishing Self Leveling Concrete
Drying time and factors affecting it
The drying time of self leveling concrete can vary based on several factors, including temperature, humidity, and the thickness of the application. Generally, it can be walked on within 2-4 hours, but full curing may take up to 28 days. It’s important to follow the manufacturer’s guidelines for optimal results.
- Varies based on temperature and humidity
- Walkable within 2-4 hours
- Full curing may take up to 28 days
Sealing the surface
Sealing the surface of self leveling concrete is essential to protect it from moisture, stains, and wear. Apply a suitable concrete sealer once the concrete has fully cured. This will enhance the durability and longevity of the surface, making it more resistant to damage.
- Protects from moisture and stains
- Apply sealer after full curing
- Enhances durability and longevity
Adding decorative finishes
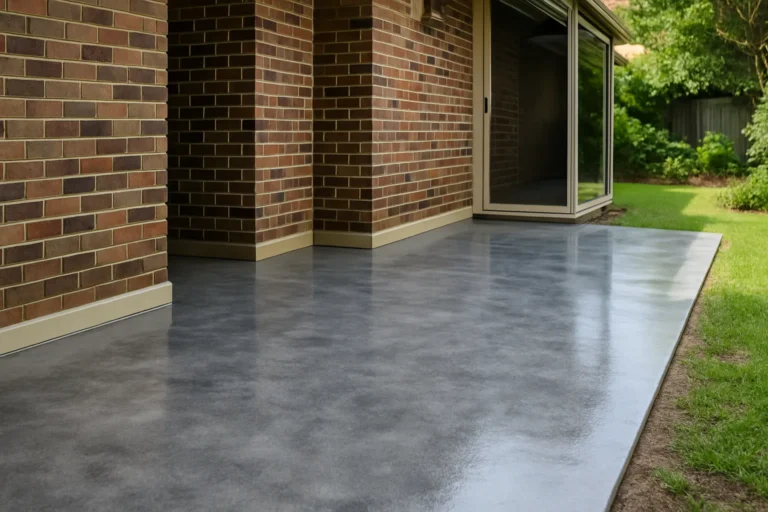
For a more aesthetically pleasing finish, consider adding decorative elements to the self leveling concrete. This can include staining, stamping, or polishing the surface to achieve a unique look. Decorative finishes can transform a plain concrete floor into an attractive feature of the space.
- Consider staining, stamping, or polishing
- Achieve a unique look
- Transform plain concrete into an attractive feature
Common Applications of Self Leveling Concrete
Residential flooring
Self leveling concrete is commonly used in residential flooring projects. It provides a smooth and level base for installing tiles, hardwood, or laminate flooring. Its durability and ease of application make it a popular choice for homeowners looking to upgrade their floors.
- Smooth and level base for flooring
- Suitable for tiles, hardwood, or laminate
- Popular choice for residential projects
Commercial spaces
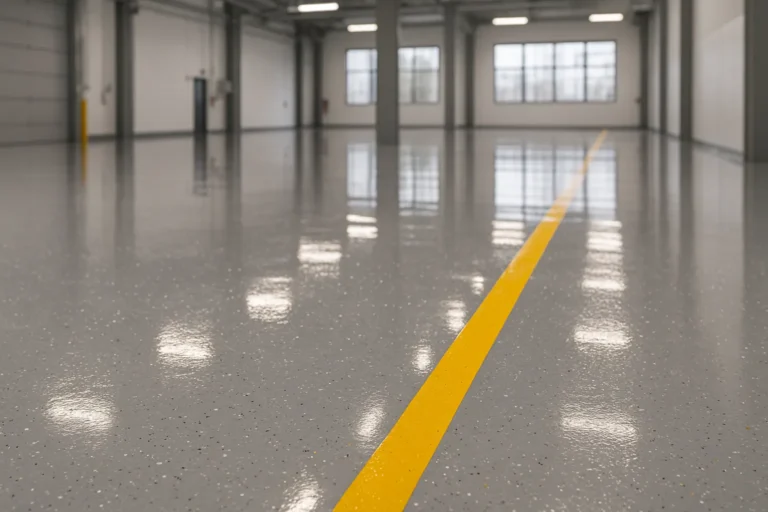
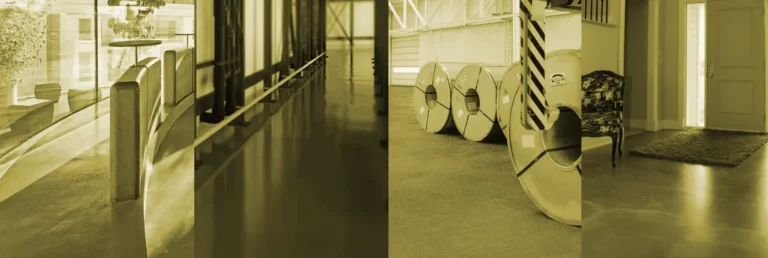
In commercial spaces, self leveling concrete is often used to create durable and attractive floors. It can withstand heavy foot traffic and is resistant to wear and tear, making it ideal for retail stores, offices, and warehouses. Its quick application and drying time minimize downtime for businesses.
- Durable and attractive floors
- Withstands heavy foot traffic
- Ideal for retail, offices, and warehouses
Underlayment for various floor coverings
Self leveling concrete serves as an excellent underlayment for various floor coverings. It provides a smooth and even surface that enhances the performance and appearance of the final flooring material. Whether it’s carpet, vinyl, or tile, self leveling concrete ensures a flawless finish.
- Excellent underlayment for floor coverings
- Enhances performance and appearance
- Ensures a flawless finish
Troubleshooting Self Leveling Concrete Issues
Dealing with bubbles and pinholes
Bubbles and pinholes can occur in self leveling concrete due to improper mixing or application. To address this issue, ensure thorough mixing to eliminate air pockets. If bubbles appear during application, use a spiked roller to release trapped air and achieve a smooth surface.
- Ensure thorough mixing
- Use a spiked roller for trapped air
- Achieve a smooth surface
Addressing uneven surfaces
Uneven surfaces can result from improper leveling or insufficient material. To fix this, apply an additional layer of self leveling concrete to the affected area. Use a leveling tool to ensure the new layer blends seamlessly with the existing surface.
- Apply additional layer if needed
- Use leveling tool for seamless blend
- Ensure proper leveling
Fixing cracks and imperfections
Cracks and imperfections can compromise the integrity of self leveling concrete. To repair these issues, fill the cracks with a suitable patching compound and smooth the surface. For larger imperfections, consider applying a new layer of self leveling concrete to restore the surface.
- Fill cracks with patching compound
- Smooth the surface
- Apply new layer for larger imperfections
Safety Precautions When Using Self Leveling Concrete
Personal protective equipment
When working with self leveling concrete, it’s important to wear appropriate personal protective equipment (PPE). This includes gloves, safety goggles, and a dust mask to protect against skin irritation, eye injury, and inhalation of dust particles.
- Wear gloves, goggles, and dust mask
- Protect against skin irritation and eye injury
- Prevent inhalation of dust particles
Ventilation requirements
Proper ventilation is crucial when using self leveling concrete to prevent the buildup of fumes. Ensure the work area is well-ventilated by opening windows and using fans. This helps maintain air quality and reduces the risk of respiratory issues.
- Ensure well-ventilated work area
- Open windows and use fans
- Maintain air quality
Proper disposal of materials
Dispose of leftover self leveling concrete and packaging materials responsibly. Follow local regulations for the disposal of construction waste. Avoid pouring excess concrete down drains, as it can cause blockages and environmental harm.
- Follow local disposal regulations
- Avoid pouring concrete down drains
- Prevent blockages and environmental harm
Cost Considerations for Self Leveling Concrete Projects
Factors affecting pricing
Several factors can influence the cost of a self leveling concrete project. These include the size of the area, the type of compound used, and any additional decorative finishes. Labor costs and the complexity of the project can also impact the overall price.
- Size of area and type of compound
- Additional decorative finishes
- Labor costs and project complexity
DIY vs professional installation
Deciding between DIY and professional installation depends on the scope of the project and your level of expertise. DIY can save money, but it requires careful preparation and execution. Professional installation ensures a high-quality finish and may be more suitable for larger or complex projects. Salon entrance flooring The floor at the entrance of a salon is important because it’s the first thing customers see It should be attractive and easy to clean to make a good impression Decorative concrete storefronts make buildings look fancy and special They use pretty patterns and colors to make stores stand out
Concrete patio designs offer many creative options for outdoor spaces You can choose from various patterns colors and textures for Textured villa patios add a fancy look to outdoor spaces They make walking safer and feel nice under your feet
Villa driveway restoration brings new life to old driveways It makes your home look better and safer to drive on Concrete sealers reviewed shows which products work best to protect driveways and patios These reviews help homeowners choose the right sealer for their concrete surfaces
Concrete beautifies museums by creating stunning modern structures Its smooth surfaces and unique shapes make art spaces look amazing Decorative museum flooring adds beauty and style to exhibit spaces
Slip-resistant flooring safeguards Fireproof kitchen flooring is a special type of floor that doesn’t catch fire easily It helps keep your kitchen safe if something hot spills or if there’s an accident with flames Acrylic floor protection helps keep floors safe from scratches and damage It is a clear coating that makes floors last longer and look better
- DIY can save money
- Requires careful preparation
- Professional installation for high-quality finish
Maintenance Tips for Self Leveled Concrete Floors
Cleaning methods
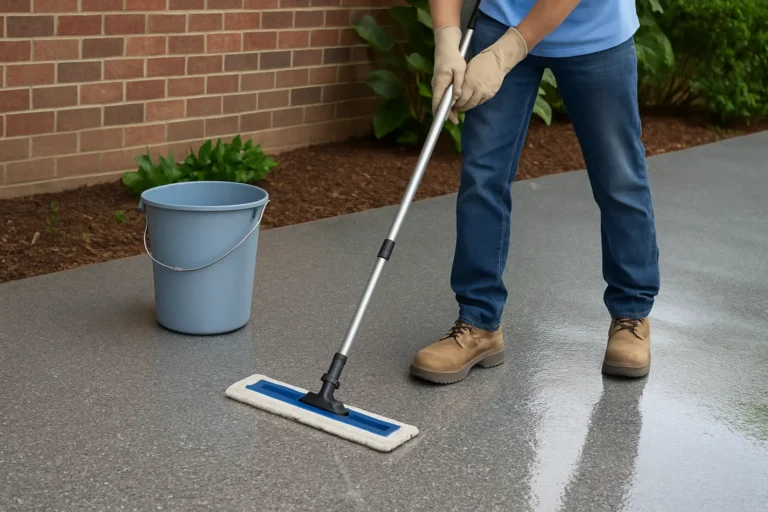
Regular cleaning is essential to maintain the appearance and longevity of self leveled concrete floors. Use a soft broom or vacuum to remove dust and debris, and mop the surface with a mild detergent and water. Avoid harsh chemicals that can damage the sealer.
- Use soft broom or vacuum
- Mop with mild detergent and water
- Avoid harsh chemicals
Repairing minor damages
Address minor damages promptly to prevent them from worsening. Fill small cracks or chips with a suitable patching compound and smooth the surface. Regular inspections can help identify and address issues early.
- Fill small cracks or chips
- Use suitable patching compound
- Regular inspections for early detection
Long-term care strategies
Implementing long-term care strategies can extend the life of self leveled concrete floors. Apply a fresh coat of sealer every few years to maintain protection. Use furniture pads to prevent scratches and avoid dragging heavy objects across the surface.
- Apply fresh coat of sealer regularly
- Use furniture pads to prevent scratches
- Avoid dragging heavy objects
Frequently Asked Questions (FAQs)
What is the best way to apply self leveling concrete?
The best way to apply self leveling concrete is to start by preparing the surface thoroughly, ensuring it is clean and primed. Mix the concrete according to the manufacturer’s instructions and pour it evenly across the area. Use a gauge rake and smoothing tool to achieve a level finish, working quickly to prevent the concrete from setting unevenly.
How thick can you pour self leveling concrete?
Self leveling concrete can typically be poured to a thickness of 1/8 inch to 1 inch, depending on the product specifications. For thicker applications, multiple layers may be required, allowing each layer to cure before applying the next. It’s important to follow the manufacturer’s guidelines to ensure optimal performance and durability.
Do you need to prime before self leveling concrete?
Yes, priming before applying self leveling concrete is essential to enhance adhesion and prevent issues like delamination. A primer creates a bond between the subfloor and the concrete, ensuring a smooth and durable finish. Allow the primer to dry completely before proceeding with the concrete application for the best results.
