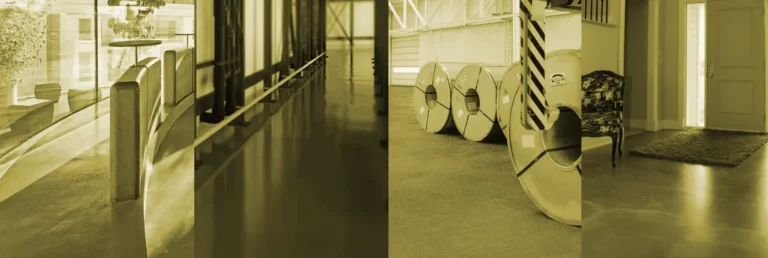
Embarking on DIY epoxy painting projects can be an exciting and rewarding experience. Epoxy resin, a versatile material, allows you to create stunning finishes on various surfaces. Whether you’re a seasoned DIY enthusiast or a beginner, understanding the basics of epoxy painting can help you achieve professional-looking results.
What is Epoxy Resin?
Epoxy resin is a two-part compound consisting of a resin and a hardener. When mixed, these components undergo a chemical reaction, resulting in a durable, high-gloss finish. This material is popular for its strength, resistance to chemicals, and ability to adhere to different surfaces.
Benefits of Epoxy Painting
Epoxy painting offers numerous advantages, making it a preferred choice for many DIY projects. It provides a long-lasting, protective coating that is resistant to wear and tear. Additionally, epoxy surfaces are easy to clean and maintain, making them ideal for high-traffic areas.
- Durable and long-lasting
- Resistant to chemicals and moisture
- Easy to clean and maintain
Essential Materials for Epoxy Painting
Before starting your DIY epoxy painting projects, gather all necessary materials. Having the right tools and supplies ensures a smooth and successful process.
Types of Epoxy Resins
There are various types of epoxy resins available, each suited for different applications. Choose the right type based on your project’s requirements, such as clarity, flexibility, and curing time.
Tools and Accessories
To achieve the best results, you’ll need specific tools and accessories. These include mixing containers, stir sticks, brushes, and rollers. Investing in quality tools can make a significant difference in the outcome of your project.
Safety Equipment
Safety should always be a priority when working with epoxy resin. Use protective gear such as gloves, goggles, and masks to prevent exposure to harmful chemicals.
- Mixing containers and stir sticks
- Brushes and rollers
- Protective gloves, goggles, and masks
Preparing Your Workspace for DIY Epoxy Painting Projects
A well-prepared workspace is crucial for successful epoxy painting. Consider factors such as location, surface preparation, and environmental conditions.
Choosing the Right Location
Select a well-ventilated area with ample space to work comfortably. Ensure the location is free from dust and debris, which can affect the finish of your epoxy project.
Surface Preparation Techniques
Proper surface preparation is essential for epoxy adhesion. Clean the surface thoroughly and sand it to create a rough texture, allowing the epoxy to bond effectively.
Temperature and Humidity Considerations
Epoxy resin is sensitive to temperature and humidity. Maintain a stable environment to ensure optimal curing and prevent issues such as bubbles or uneven surfaces.
- Well-ventilated and dust-free area
- Thorough cleaning and sanding
- Stable temperature and humidity levels
Step-by-Step Guide to Epoxy Painting
Follow these steps to achieve a flawless epoxy finish on your DIY projects.
Mixing Epoxy Resin
Accurate mixing is crucial for the epoxy to cure properly. Follow the manufacturer’s instructions for the correct resin-to-hardener ratio and mix thoroughly to avoid inconsistencies.
Application Methods
Apply the epoxy using a brush or roller, depending on the surface and desired finish. Work in small sections to ensure even coverage and prevent the epoxy from setting too quickly.
Curing and Drying Process
Allow the epoxy to cure according to the manufacturer’s guidelines. This process can take anywhere from 24 to 72 hours, depending on the product and environmental conditions.
- Follow manufacturer’s mixing instructions
- Use appropriate application tools
- Allow sufficient curing time
Creative DIY Epoxy Painting Projects
Explore various creative applications of epoxy resin to enhance your home decor.
Epoxy Resin Art
Create stunning artwork by pouring epoxy resin onto canvases or other surfaces. Experiment with different colors and techniques to achieve unique effects.
Furniture Refinishing
Transform old furniture with a fresh epoxy finish. This technique can breathe new life into tables, countertops, and other pieces, providing a modern and durable surface.
Floor Coatings
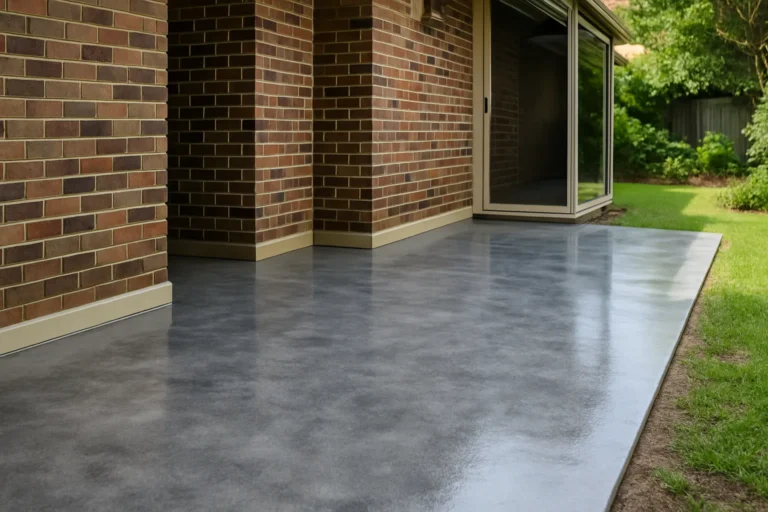
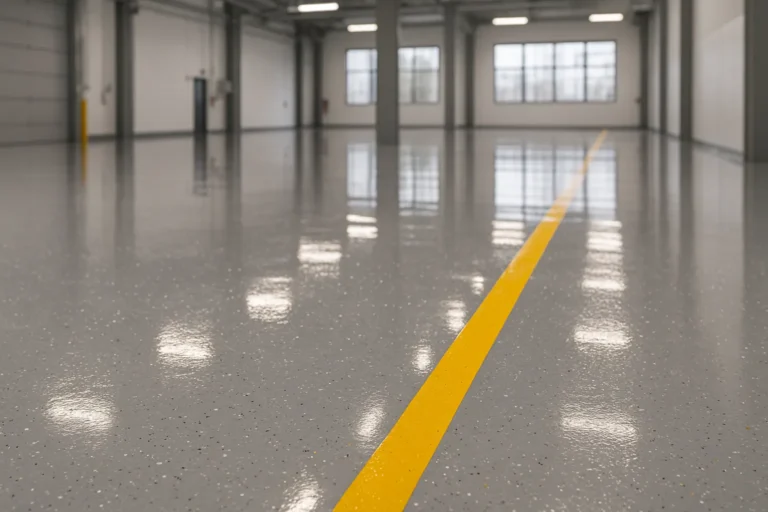
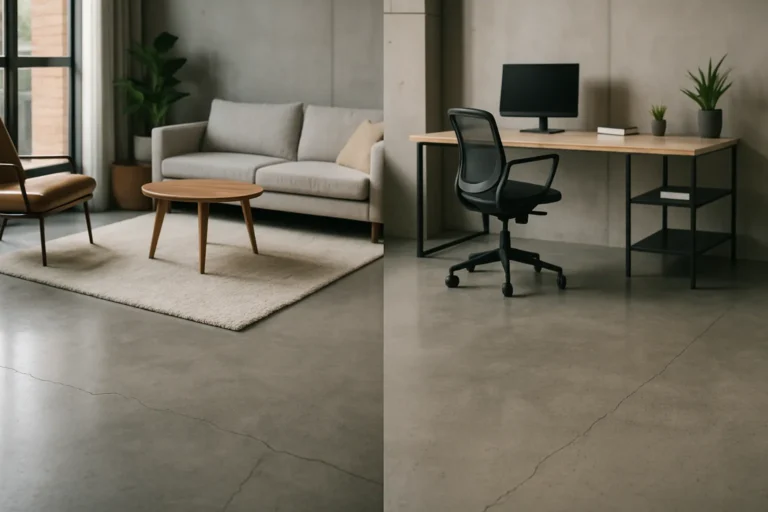
Epoxy floor coatings are popular for their durability and aesthetic appeal. Use epoxy to create a seamless, high-gloss finish on concrete floors in garages, basements, or living areas.
- Pouring techniques for unique art
- Refinishing tables and countertops
- Seamless and durable floor coatings
Troubleshooting Common Epoxy Painting Issues
Even with careful preparation, you may encounter some challenges during your epoxy painting projects.
Bubbles and Air Pockets
Bubbles can form during the mixing or application process. To minimize bubbles, mix slowly and use a heat gun or torch to remove them from the surface.
Uneven Surfaces
Uneven surfaces can result from improper application or curing conditions. Ensure even application and maintain stable environmental conditions to prevent this issue.
Yellowing and Discoloration
Exposure to UV light can cause epoxy to yellow over time. Use UV-resistant epoxy products and avoid placing epoxy-coated items in direct sunlight.
- Mix slowly to reduce bubbles
- Maintain stable conditions for even surfaces
- Use UV-resistant products to prevent yellowing
Maintaining and Caring for Epoxy-Painted Surfaces
Proper maintenance can extend the life of your epoxy-painted surfaces.
Cleaning Techniques
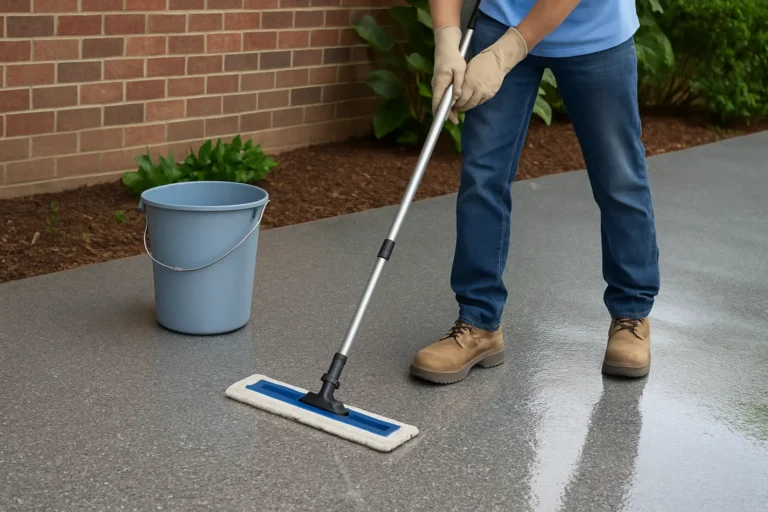
Regular cleaning with mild soap and water helps maintain the appearance of epoxy surfaces. Avoid abrasive cleaners that can damage the finish.
Repairing Scratches and Damages
Minor scratches can be repaired by lightly sanding the area and applying a fresh coat of epoxy. For deeper damages, consider professional repair services.
- Use mild soap and water for cleaning
- Lightly sand and recoat for minor repairs
- Seek professional help for major damages
Advanced Epoxy Painting Techniques
Enhance your epoxy projects with advanced techniques for added creativity.
Adding Pigments and Dyes
Incorporate pigments and dyes to create custom colors and effects. Ensure the additives are compatible with epoxy resin for the best results.
Creating Textures and Patterns
Experiment with different tools and techniques to create textures and patterns in the epoxy. This can add depth and interest to your projects.
Incorporating Embedded Objects
Embed objects such as stones, shells, or glitter into the epoxy for a unique, personalized touch. Ensure the objects are clean and dry before embedding.
- Use compatible pigments and dyes
- Experiment with tools for textures
- Embed clean and dry objects
Environmental Considerations for DIY Epoxy Painting Projects
Be mindful of the environmental impact of your epoxy projects.
VOC Emissions and Eco-Friendly Options
Some epoxy resins emit volatile organic compounds (VOCs). Opt for low-VOC or eco-friendly products to reduce environmental impact.
Proper Disposal of Epoxy Waste
Dispose of epoxy waste responsibly by following local regulations. Avoid pouring leftover resin down the drain or into the environment.
- Choose low-VOC products
- Follow local disposal regulations
Cost Analysis of DIY Epoxy Painting Projects
Consider the costs involved in DIY epoxy projects compared to professional services.
Comparing DIY vs. Professional Services
DIY epoxy projects can be cost-effective, but they require time and effort. Professional services offer convenience and expertise but come at a higher cost.
Long-Term Value and Durability
Epoxy surfaces offer long-term value due to their durability and low maintenance requirements. Investing in quality materials can enhance the longevity of your projects.
- DIY is cost-effective but time-consuming
- Professional services offer expertise
- Durable and low-maintenance surfaces
FAQs
What Surfaces Can I Use Epoxy Paint On?
DIY epoxy painting projects can be applied to various surfaces, including wood, concrete, metal, and glass. Always ensure proper surface preparation for optimal results. This versatility makes epoxy a popular choice for many DIY enthusiasts.
How Long Does Epoxy Paint Take to Dry?
The drying time for DIY epoxy painting projects varies depending on the product and environmental conditions. Generally, it takes 24-72 hours for full curing. It’s important to follow the manufacturer’s instructions for the best results.
Are DIY Epoxy Painting Projects Safe for Indoor Use?
When proper safety precautions are taken, DIY epoxy painting projects can be safe for indoor use. Ensure adequate ventilation and use appropriate personal protective equipment. This helps minimize exposure to harmful chemicals.
Can I Mix Different Colors in Epoxy Paint?
Yes, you can mix colors in DIY epoxy painting projects to create custom shades and effects. Use epoxy-compatible pigments or dyes for best results. This allows for a wide range of creative possibilities.
How Durable Are Epoxy-Painted Surfaces?
Epoxy-painted surfaces are highly durable and resistant to wear, chemicals, and moisture. According to a study by the National Institute of Standards and Technology, epoxy coatings can last up to 20 years with proper maintenance. This makes them a valuable investment for long-term use.
