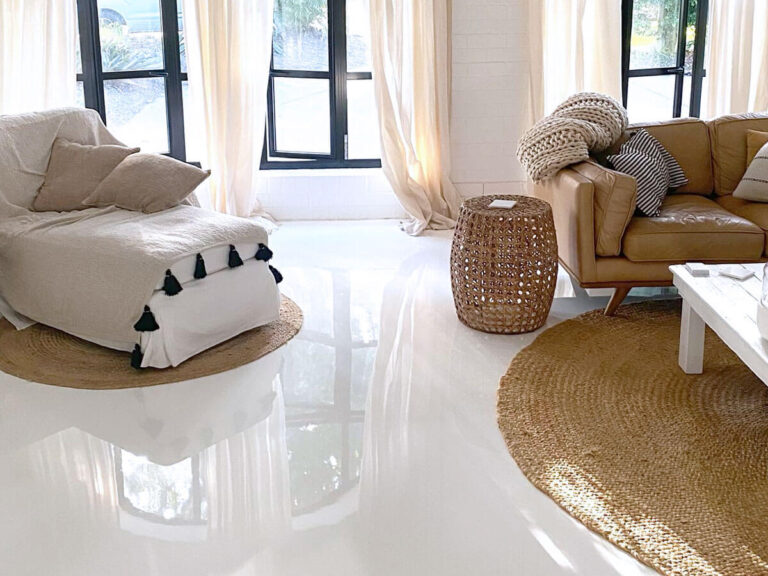
Microcement is a versatile and durable decorative coating that can be applied to floors, walls, and other surfaces. It is known for its seamless finish and ability to adhere to various substrates, making it a popular choice for modern interior design. Microcement is composed of cement, water-based resins, additives, and mineral pigments, which together create a thin yet robust layer. This material is not only aesthetically pleasing but also highly functional, offering a sleek and contemporary look to any space.
- Seamless finish suitable for various surfaces
- Composed of cement, resins, additives, and pigments
- Popular in modern interior design
Importance of Sealing Microcement
Sealing microcement is crucial for enhancing its durability and maintaining its appearance. A proper sealant protects the surface from stains, scratches, and moisture, ensuring that the microcement retains its pristine condition over time. Without sealing, microcement is susceptible to damage, which can lead to costly repairs. Sealing also enhances the color and texture of the microcement, providing a polished and attractive finish.
- Protects against stains, scratches, and moisture
- Enhances color and texture
- Prevents costly repairs
Types of Microcement Sealers
There are various types of sealers available for microcement, each offering different levels of protection and finish. Acrylic sealers are popular for their ease of application and affordability, while polyurethane sealers provide superior durability and resistance to chemicals. Epoxy sealers are ideal for areas with high traffic due to their robust nature. Choosing the right sealer depends on the specific needs of the surface and the desired finish.
- Acrylic sealers: Easy application, affordable
- Polyurethane sealers: Durable, chemical-resistant
- Epoxy sealers: Ideal for high-traffic areas
Preparing for Microcement Sealing
Surface Preparation Techniques
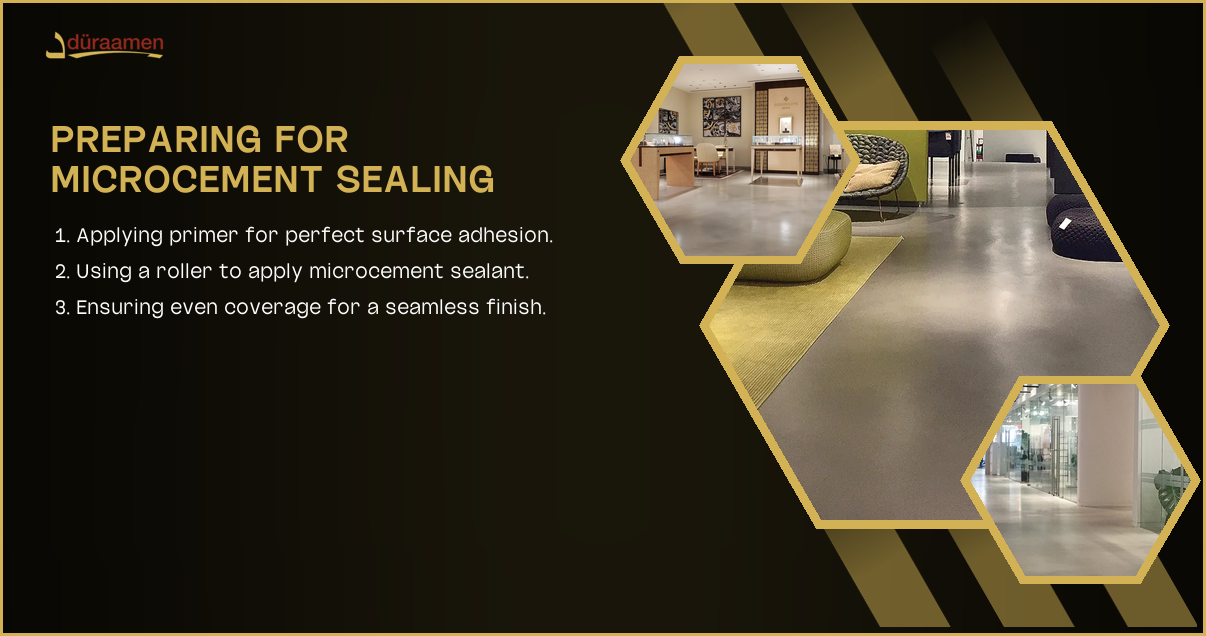
Proper surface preparation is essential for effective microcement sealing. The surface must be clean, dry, and free of any debris or contaminants. This can be achieved by thoroughly cleaning the area with a mild detergent and allowing it to dry completely. Any existing coatings or sealers should be removed to ensure proper adhesion of the new sealer. Sanding the surface lightly can also help in creating a better bond.
- Clean surface with mild detergent
- Remove existing coatings or sealers
- Lightly sand for better adhesion
Necessary Tools and Materials
To seal microcement effectively, you will need specific tools and materials. These include a high-quality sealer, a roller or brush for application, a mixing container, and protective gear such as gloves and goggles. Having the right tools ensures a smooth application process and optimal results.
- High-quality sealer
- Roller or brush for application
- Mixing container and protective gear
Safety Precautions
Safety is paramount when working with sealers, as they can contain harmful chemicals. Always work in a well-ventilated area to avoid inhaling fumes. Wear protective gear, including gloves and goggles, to prevent skin and eye contact. Follow the manufacturer’s instructions carefully to ensure safe and effective application.
- Work in a well-ventilated area
- Wear gloves and goggles
- Follow manufacturer’s instructions
Step-by-Step Guide to Seal Microcement
Applying the Pre-Sealer
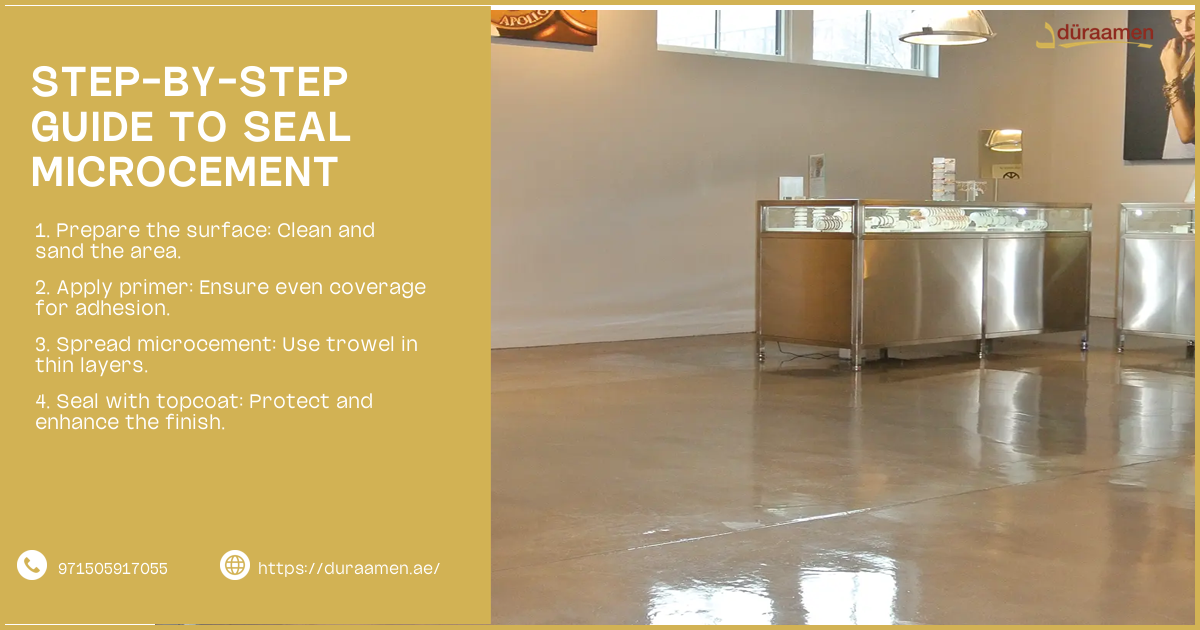
Before applying the main sealer, a pre-sealer is often recommended to enhance adhesion and provide an initial layer of protection. The pre-sealer should be applied evenly across the surface using a roller or brush. Allow it to dry completely before proceeding to the next step.
- Apply pre-sealer evenly
- Use a roller or brush
- Allow to dry completely
Mixing and Applying the Sealer
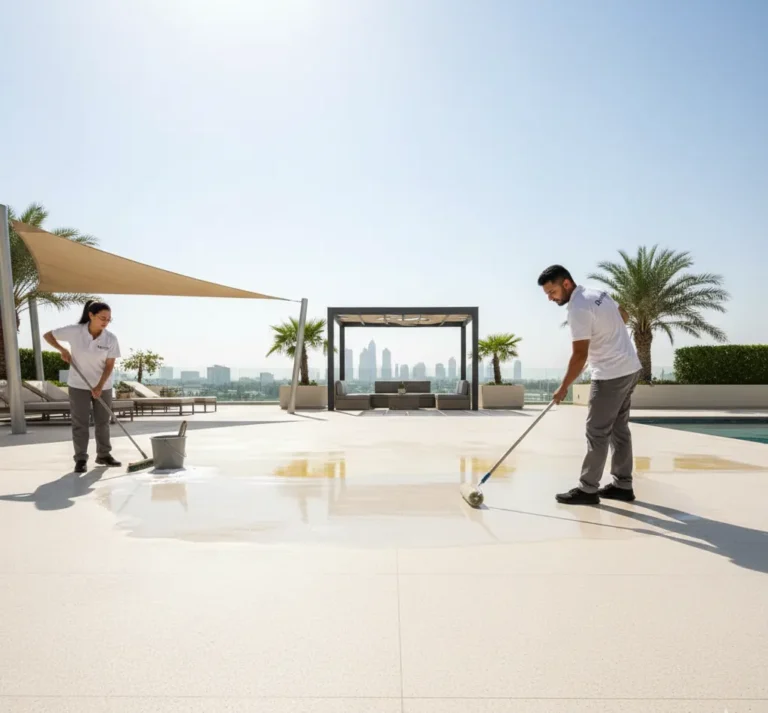
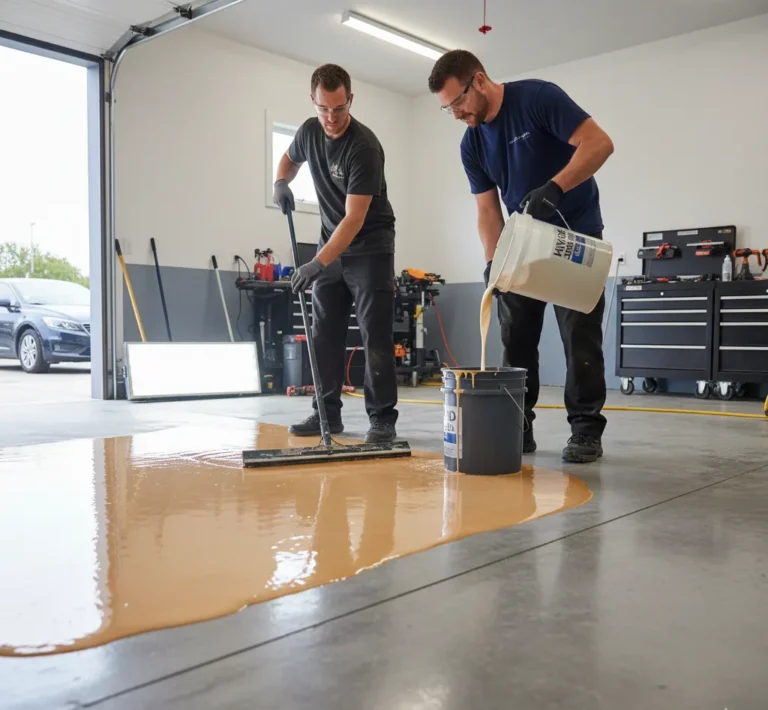
Mix the sealer according to the manufacturer’s instructions to ensure consistency and effectiveness. Apply the sealer evenly across the surface using a roller or brush, working in small sections to avoid streaks. Ensure that the application is uniform to achieve a smooth finish.
- Mix sealer as per instructions
- Apply evenly with roller or brush
- Work in small sections for uniformity
Drying and Curing Process
After application, the sealer needs time to dry and cure properly. This process can take several hours to days, depending on the type of sealer used and environmental conditions. Avoid using the sealed area until it is fully cured to prevent damage.
- Allow sealer to dry and cure
- Time varies by sealer type and conditions
- Avoid using area until fully cured
Common Mistakes to Avoid When Sealing Microcement
Temperature and Environmental Factors
Sealing microcement in inappropriate temperatures or humidity levels can affect the outcome. Extreme temperatures can cause the sealer to dry too quickly or too slowly, leading to an uneven finish. Always check the recommended temperature range on the sealer’s instructions and avoid sealing in high humidity.
- Avoid extreme temperatures
- Check recommended temperature range
- Avoid high humidity levels
Improper Mixing and Application Techniques
Incorrect mixing or application of the sealer can lead to poor results. Ensure that the sealer is mixed thoroughly to achieve the right consistency. Apply the sealer evenly and avoid over-application, which can cause bubbling or peeling.
- Mix sealer thoroughly
- Apply evenly
- Avoid over-application
Inadequate Protection During Drying
Failing to protect the sealed surface during the drying process can result in damage. Ensure that the area is free from dust, debris, and foot traffic until the sealer is fully cured. Use barriers or signs to prevent accidental contact.
- Protect surface from dust and debris
- Prevent foot traffic
- Use barriers or signs
Maintaining Sealed Microcement Surfaces
Cleaning and Care Tips
Regular cleaning and maintenance are essential for preserving the appearance and longevity of sealed microcement. Use a mild detergent and a soft cloth or mop to clean the surface, avoiding harsh chemicals or abrasive tools that can damage the sealer.
- Use mild detergent for cleaning
- Avoid harsh chemicals
- Use soft cloth or mop
Resealing Frequency
Over time, the sealer may wear down, requiring resealing to maintain protection. The frequency of resealing depends on the level of use and exposure to elements. Generally, resealing every 2-3 years is recommended for optimal results.
- Reseal every 2-3 years
- Depends on use and exposure
- Maintains protection and appearance
Troubleshooting Common Issues
If issues arise with the sealed microcement, such as discoloration or peeling, it is important to address them promptly. Identify the cause of the problem and take corrective measures, such as resealing or repairing the affected area.
- Address issues promptly
- Identify cause of problem
- Take corrective measures
Microcement Sealing for Different Areas
Sealing Microcement Floors
Microcement floors require a durable sealer to withstand foot traffic and potential spills. A polyurethane or epoxy sealer is often recommended for floors due to their strength and resistance to wear.
- Use durable sealer for floors
- Polyurethane or epoxy recommended
- Withstands foot traffic and spills
Waterproofing Microcement in Bathrooms
Bathrooms require waterproofing to prevent moisture damage. A high-quality waterproof sealer is essential for microcement surfaces in bathrooms, ensuring they remain protected from water exposure.
- Use waterproof sealer in bathrooms
- Prevents moisture damage
- Ensures protection from water exposure
Protecting Microcement Countertops
Countertops are prone to spills and stains, making a strong sealer necessary. An epoxy sealer is ideal for countertops due to its resistance to chemicals and ease of cleaning.
- Use strong sealer for countertops
- Epoxy sealer recommended
- Resistant to chemicals and easy to clean
Advanced Techniques for Sealing Microcement
Multi-Layer Sealing Process
For enhanced protection and finish, a multi-layer sealing process can be employed. This involves applying multiple layers of sealer, allowing each to dry before applying the next. This technique provides added durability and a more polished appearance.
- Apply multiple layers of sealer
- Allow each layer to dry
- Provides added durability
Enhancing Color and Texture
Sealers can be used to enhance the color and texture of microcement, creating a more vibrant and appealing finish. Pigmented sealers or additives can be incorporated to achieve the desired effect.
- Use sealers to enhance color
- Pigmented sealers or additives
- Achieve vibrant finish
Achieving Specific Finishes
Different sealers can create various finishes, from matte to glossy. Choosing the right sealer allows you to achieve the specific look you desire for your microcement surface.
- Choose sealer for desired finish
- Matte to glossy options
- Achieve specific look
Environmental Impact of Microcement Sealing
VOC Content in Sealers
Volatile organic compounds (VOCs) in sealers can impact indoor air quality. Opting for low-VOC sealers reduces environmental impact and contributes to healthier indoor environments.
- VOCs affect air quality
- Choose low-VOC sealers
- Healthier indoor environments
Eco-Friendly Sealing Options
Eco-friendly sealers are available for those looking to minimize their environmental footprint. These sealers are made from sustainable materials and have lower VOC content.
- Eco-friendly sealers available
- Made from sustainable materials
- Lower VOC content
Sustainability Considerations
When sealing microcement, consider the sustainability of the materials and processes used. Opt for sealers that are environmentally friendly and contribute to sustainable building practices. Flooring durability comparison Different types of floors can last longer or shorter depending on how they are made and used Some floors like hardwood and tile can last many years while others like carpet may need to be replaced sooner Dubai cultural spaces microcement is a special material used to make floors and walls look smooth in places where people learn about Dubai’s culture It helps create a modern look while still respecting the traditional feel of these important spaces
Sleek villa microcement is a smooth and modern coating for walls and floors It gives homes a stylish look that is easy to clean and maintain Microcement cafe surfaces are smooth and stylish coatings for counters and tables They make cafes look modern and are easy to clean for busy coffee shops
Microcement spa serenity offers a smooth and calming atmosphere for relaxation Its sleek surfaces create a peaceful environment perfect for unwinding Boutique microcement displays show off smooth and stylish surfaces in stores These special displays help customers see how microcement can look in their homes
Sleek gallery surfaces make art displays look modern and clean These smooth walls and floors help artwork stand out in museums Minimalist microcement walls create a smooth and sleek look in homes They are perfect for modern spaces that want a clean and simple style
Sleek microcement surfaces are smooth and modern-looking floors or walls They are made by applying thin layers of special cement to create a seamless and stylish finish Microcement luxury surfaces are smooth and stylish coatings that can make floors and walls look fancy They are thin but strong and can be used in many different colors to create a modern and elegant look
- Consider sustainability in sealing
- Use environmentally friendly sealers
- Contribute to sustainable practices
Cost Considerations for Sealing Microcement
DIY vs Professional Sealing
Deciding between DIY and professional sealing depends on your budget and expertise. While DIY can be cost-effective, professional sealing ensures a high-quality finish and long-lasting results.
- DIY can be cost-effective
- Professional sealing ensures quality
- Consider budget and expertise
Long-Term Cost Benefits
Investing in high-quality sealing can lead to long-term cost benefits by reducing the need for repairs and maintenance. A well-sealed microcement surface is more durable and requires less frequent resealing.
- High-quality sealing reduces repairs
- Durable and long-lasting
- Less frequent resealing needed
Factors Affecting Sealing Costs
Several factors can affect the cost of sealing microcement, including the type of sealer used, the size of the area, and the complexity of the application. It’s important to consider these factors when budgeting for your project.
- Type of sealer affects cost
- Size and complexity of area
- Consider factors in budgeting
Frequently Asked Questions
How often should I seal microcement?
Microcement should be sealed every 2-3 years to maintain its protective qualities and appearance. The frequency may vary based on usage and environmental exposure.
Can I change the color of microcement after sealing?
Changing the color of sealed microcement is challenging and may require removing the existing sealer. It’s best to choose the desired color before sealing.
Is sealed microcement slip-resistant?
Sealed microcement can be slip-resistant, depending on the type of sealer used. Some sealers offer slip-resistant properties, making them suitable for areas prone to moisture.
What is the best sealer for microcement?
The best sealer for microcement depends on the specific needs of the surface. Polyurethane and epoxy sealers are popular for their durability and resistance to wear.
How long does sealed microcement last?
Sealed microcement can last up to 20 years with proper maintenance and care. Regular cleaning and resealing help extend its lifespan.
Can you apply microcement over existing tiles?
Yes, microcement can be applied over existing tiles, provided the surface is properly prepared. This includes cleaning, sanding, and ensuring the tiles are securely adhered.rg)