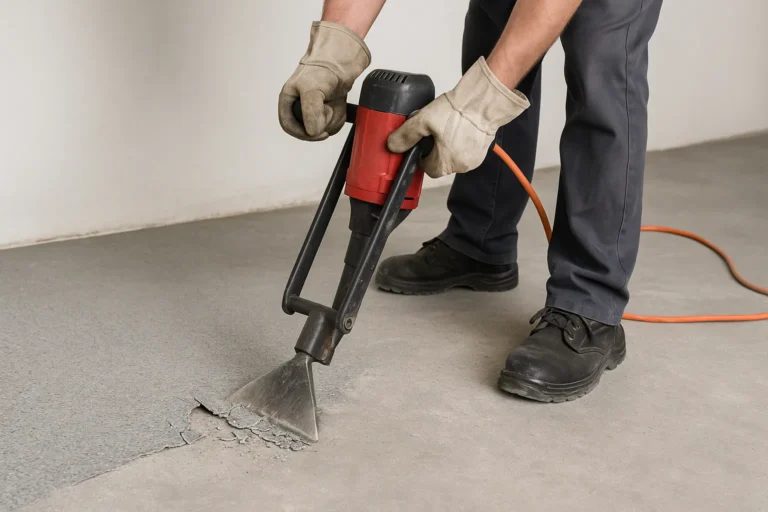
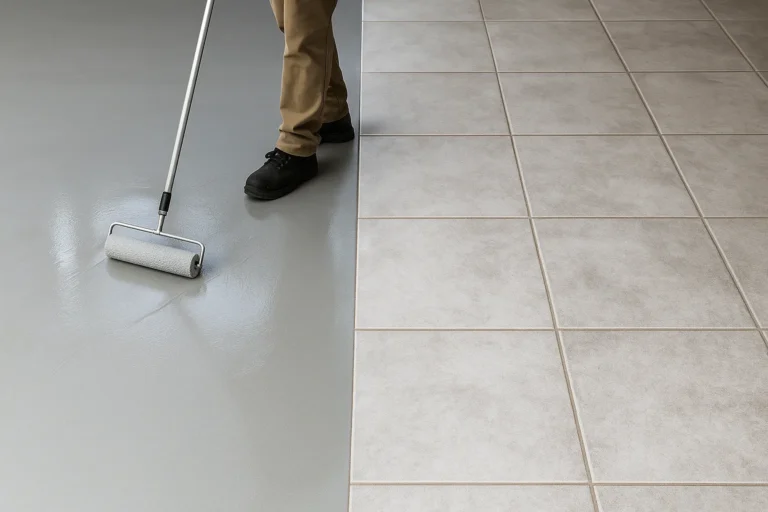
Microtopping has emerged as a popular flooring solution, offering a sleek and modern appearance while providing durability and versatility. However, moisture can pose significant challenges to any flooring system, including microtopping. In this comprehensive guide, we’ll explore the relationship between microtopping and moisture, and how to effectively manage moisture to protect your floors from water damage.
Understanding Microtopping and Moisture Interaction
The science behind microtopping’s moisture resistance
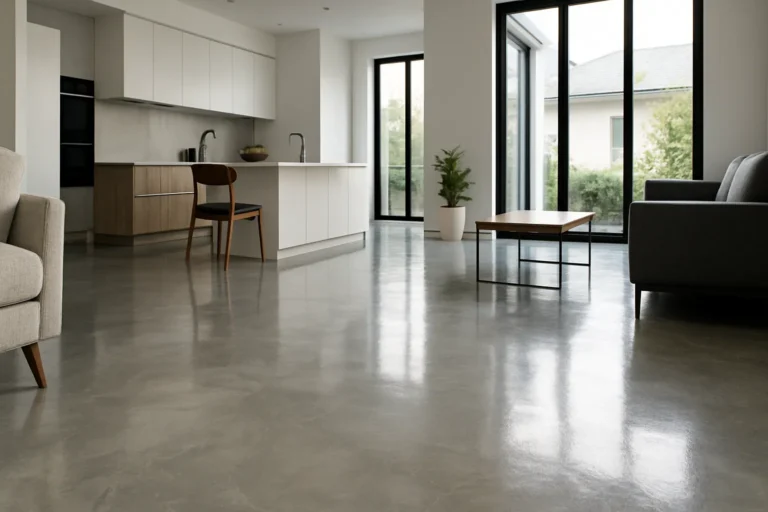
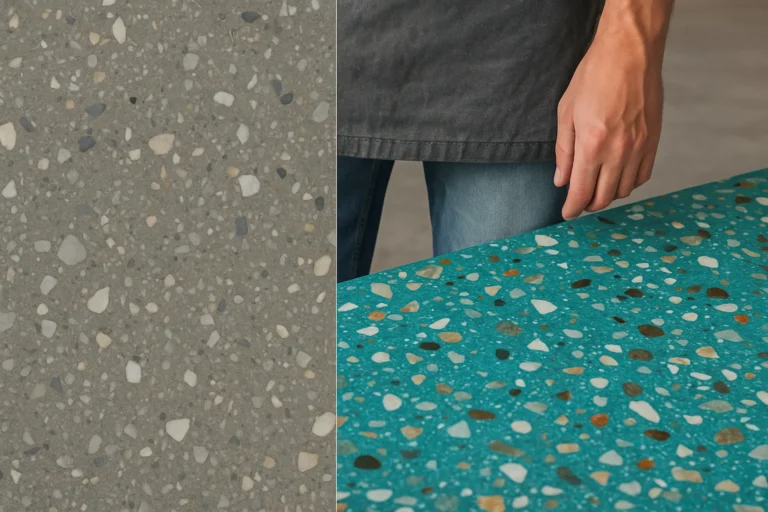
Microtopping is a thin, cement-based overlay that can be applied to various surfaces to create a smooth, seamless finish. Its composition typically includes high-quality polymers and fine aggregates, which contribute to its moisture-resistant properties. The polymer content helps to reduce water absorption, while the fine aggregates create a dense matrix that inhibits water penetration.
When properly installed and sealed, microtopping can provide excellent moisture resistance. The thin layer allows for rapid drying, reducing the risk of moisture-related issues such as mold growth or delamination. However, it’s important to note that while microtopping is moisture-resistant, it is not inherently waterproof without additional treatments.
How moisture affects microtopping performance
Moisture can impact microtopping in several ways:
- Adhesion: Excessive moisture in the substrate can compromise the bond between the microtopping and the underlying surface.
- Discoloration: Prolonged exposure to moisture can lead to staining or color changes in the microtopping.
- Efflorescence: Water moving through the microtopping can carry dissolved salts to the surface, resulting in a white, powdery residue.
- Degradation: Constant exposure to moisture can weaken the microtopping over time, leading to cracking or peeling.
To ensure optimal performance, it’s crucial to address moisture concerns both in the substrate and the environment where the microtopping will be installed.
- Moisture-related challenges for microtopping:
- Substrate moisture content
- Relative humidity
- Vapor transmission rates
- Surface condensation
- Water exposure frequency and duration
Benefits of Moisture-Resistant Microtopping
Enhanced durability in wet environments
Moisture-resistant microtopping offers several advantages for areas prone to water exposure:
- Longevity: Properly sealed microtopping can withstand frequent contact with water without deteriorating.
- Easy maintenance: The smooth, non-porous surface of microtopping makes it easy to clean and resistant to staining.
- Slip resistance: Textured finishes can be applied to microtopping to enhance safety in wet areas.
- Mold and mildew resistance: The dense surface of microtopping, when sealed, inhibits the growth of harmful microorganisms.
Versatility in design and application
Microtopping’s versatility extends to its use in moisture-prone areas:
- Customizable appearance: Microtopping can be colored, stained, or stamped to achieve various aesthetic effects.
- Seamless installation: The thin application allows for a continuous surface without joints or grout lines that can trap moisture.
- Adaptability to different substrates: Microtopping can be applied over various materials, including concrete, tile, and wood.
- Rapid installation and curing: Microtopping can be applied quickly and is ready for use in a relatively short time.
|
Feature |
Benefit in Moisture-Prone Areas |
|
Thin application |
Allows for quick drying and reduced moisture retention |
|
Polymer content |
Enhances water resistance and durability |
|
Seamless finish |
Eliminates joints where water can penetrate |
|
Customizable texture |
Provides slip resistance options for wet areas |
|
Low maintenance |
Simplifies cleaning and upkeep in damp environments |
Proper Moisture Management Techniques for Microtopping
Substrate preparation and moisture testing
Proper substrate preparation is crucial for the success of any microtopping installation, especially in moisture-prone areas. Here are key steps to ensure optimal moisture management:
- Assess substrate condition: Inspect the existing surface for cracks, spalling, or other damage that could allow moisture intrusion.
- Repair and level: Address any imperfections in the substrate to create a smooth, stable base for the microtopping.
- Conduct moisture testing: Use reliable methods such as calcium chloride tests or relative humidity probes to measure moisture content in the substrate.
- Evaluate vapor transmission: Determine if a vapor barrier is necessary based on moisture vapor emission rates.
It’s essential to follow industry standards for moisture testing and adhere to manufacturer recommendations for acceptable moisture levels before applying microtopping.
Applying moisture barriers and sealers
Once the substrate is properly prepared and tested, the following steps can help manage moisture effectively:
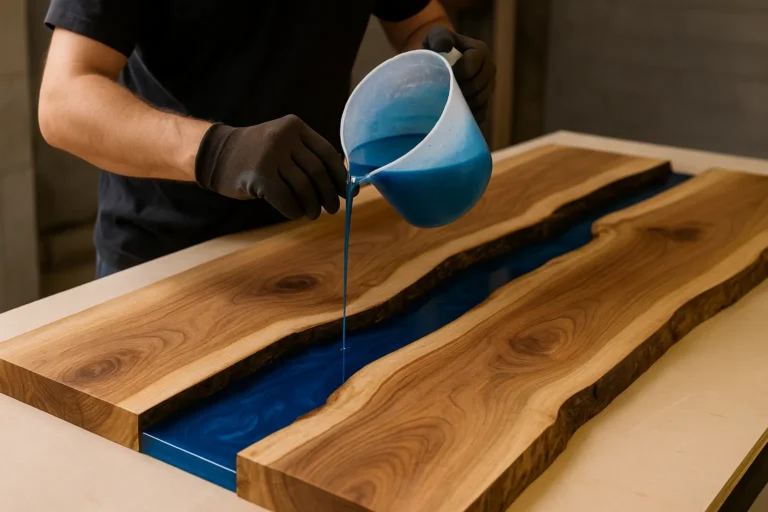
- Install a moisture barrier: If moisture vapor transmission rates exceed acceptable levels, apply an epoxy-based moisture barrier to prevent water from migrating through the substrate.
- Prime the surface: Use a high-quality primer compatible with both the substrate and the microtopping to enhance adhesion and provide an additional moisture barrier.
- Apply the microtopping: Follow manufacturer guidelines for mixing and application, ensuring proper thickness and curing conditions.
- Seal the microtopping: Apply a high-performance sealer designed for wet environments to enhance moisture resistance and protect the surface.
- Key considerations for moisture management:
- Substrate porosity and absorption rates
- Environmental conditions during installation
- Curing time between coats
- Compatibility of products in the system
- Long-term maintenance requirements
Microtopping Applications in High-Moisture Areas
Bathrooms and kitchens
Microtopping can be an excellent choice for bathrooms and kitchens due to its moisture-resistant properties and seamless finish. In these areas, consider the following:
- Proper slope: Ensure adequate drainage by creating subtle slopes towards floor drains.
- Waterproofing: Apply a waterproofing membrane in areas subject to direct water contact, such as shower floors.
- Texture: Incorporate slip-resistant additives or textures in wet areas for safety.
- Transitions: Pay special attention to transitions between microtopping and other surfaces to prevent water ingress.
Outdoor spaces and pool decks
For exterior applications, microtopping must withstand not only moisture but also temperature fluctuations and UV exposure. Key considerations include:
- Substrate stability: Ensure the base concrete is properly cured and stable to prevent cracking.
- Expansion joints: Incorporate expansion joints to accommodate thermal movement.
- UV-resistant sealers: Use sealers specifically designed for outdoor use to prevent color fading and degradation.
- Texture for safety: Apply a slip-resistant finish to enhance safety around pools and wet areas.
|
Application Area |
Specific Moisture Considerations |
|
Bathrooms |
Waterproofing for shower areas, proper ventilation |
|
Kitchens |
Spill resistance, ease of cleaning |
|
Pool decks |
Chlorine resistance, freeze-thaw durability |
|
Outdoor patios |
UV protection, water drainage |
Maintaining Microtopping Floors in Moist Conditions
Regular cleaning and sealing practices
To ensure the longevity of microtopping in moisture-prone areas, follow these maintenance practices:
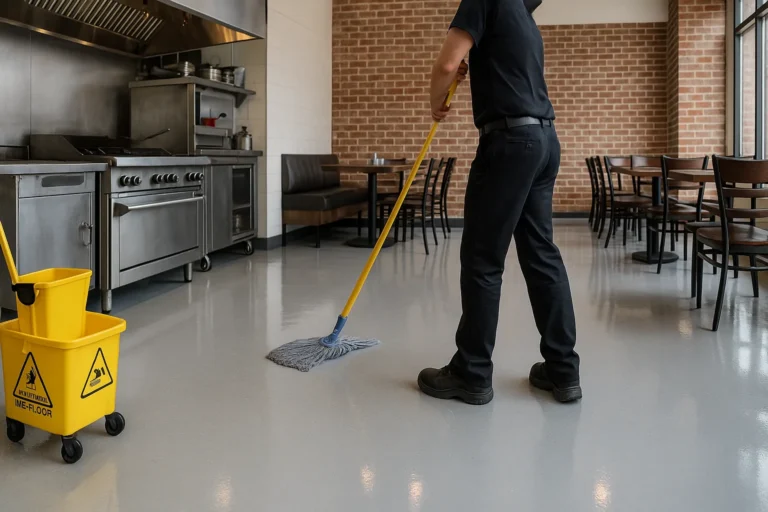
- Regular cleaning: Use pH-neutral cleaners and avoid harsh chemicals that can degrade the sealer.
- Prompt spill cleanup: Address spills immediately to prevent staining or moisture penetration.
- Periodic resealing: Apply new coats of sealer as recommended by the manufacturer to maintain moisture resistance.
- Inspect regularly: Look for signs of wear or damage, especially in high-traffic or frequently wet areas.
Addressing moisture-related issues
If moisture-related problems occur, take prompt action:
- Identify the source: Determine if the moisture is coming from the substrate, surface water, or environmental conditions.
- Dry the area: Use fans and dehumidifiers to thoroughly dry affected areas before making repairs.
- Repair damaged sections: Address any cracks or delamination promptly to prevent further moisture intrusion.
- Consult professionals: For significant issues, seek advice from flooring specialists or the microtopping manufacturer.
- Tips for long-term moisture management:
- Use entrance mats in wet weather to reduce water tracked onto floors
- Maintain proper indoor humidity levels
- Address plumbing leaks or condensation issues promptly
- Consider applying additional coats of sealer in high-moisture areas
Comparing Microtopping to Other Moisture-Resistant Flooring Options
Epoxy vs. microtopping for moisture control
Both epoxy and microtopping offer excellent moisture resistance, but they have distinct characteristics:
Epoxy:
- Provides a completely non-porous surface
- Offers high chemical resistance
- Can be applied in thicker layers
- Limited design options compared to microtopping
Microtopping:
- Allows for more breathability
- Offers a wider range of aesthetic possibilities
- Can be applied in very thin layers
- Generally more cost-effective for large areas
Tile vs. microtopping in wet environments
Tile has long been a go-to option for wet areas, but microtopping presents some unique advantages:
Tile:
- Traditional choice for bathrooms and kitchens
- Inherently waterproof when properly installed
- Requires grout lines which can be prone to moisture issues
Microtopping:
- Provides a seamless surface without grout lines
- Offers more design flexibility
- Can be applied over existing tile for renovations
- Typically faster installation process
|
Feature |
Microtopping |
Epoxy |
Tile |
|
Seamless surface |
Yes |
Yes |
No |
|
Design versatility |
High |
Medium |
Medium |
|
Chemical resistance |
Medium |
High |
Varies |
|
DIY-friendly |
Moderate |
Low |
Moderate |
|
Cost |
Medium |
High |
Varies |
Innovative Moisture Management Solutions for Microtopping
Advanced sealers and topcoats
The flooring industry continues to develop new technologies to enhance moisture resistance:
- Nanotechnology sealers: These provide superior water repellency while maintaining breathability.
- Two-component urethane sealers: Offer excellent chemical and abrasion resistance for high-traffic wet areas.
- Hydrophobic coatings: Create a water-beading effect that helps prevent moisture absorption.
Moisture-wicking additives for microtopping mixtures
Innovative additives can enhance the moisture management capabilities of microtopping: Microtopping financial evaluation helps businesses check if their small-scale projects are worth the money It looks at costs and benefits to decide if Microtopping is a good investment for the company Microtopping enhances education by making learning more fun and interactive for students It helps teachers create exciting lessons that keep kids interested and engaged in their studies
Villa walls revitalized brings new life to old structures Faded buildings get a fresh look with Contemporary microtopping furniture uses a thin layer of special concrete to give a modern look to tables chairs and other pieces It creates a smooth sleek surface that is both stylish and durable
Microtopping salon stations are special work areas for hairstylists They have a smooth and durable surface that looks nice and is easy to clean Temporary store microtopping is a quick way to make floors look nice and smooth It’s used in stores that are only open for a short time to give a fresh appearance
Exhibit surface enhancements make displays look better and more interesting They help visitors learn and enjoy museum exhibits more easily Microtopping office desks are special coatings that make old desks look new and smooth They can change the color and feel of your desk without buying a whole new one
Driveway makeover Uberdek is a special coating that makes old driveways look new and shiny It helps protect your driveway from cracks and stains while giving it a fresh appearance Acoustic microtopping solutions are special thin layers added to floors and walls They help reduce noise and make rooms sound better without changing how they look
- Hydrophobic agents: These can be mixed into the microtopping to increase its inherent water resistance.
- Crystalline waterproofing additives: Form crystals within the microtopping matrix to block water penetration.
- Polymer modifications: Advanced polymers can improve flexibility and reduce water absorption.
- Emerging trends in moisture-resistant flooring:
- Self-healing sealers that can repair minor damage
- Antimicrobial additives to prevent mold growth in damp conditions
- Smart coatings that change color to indicate moisture presence
- Eco-friendly, plant-based water-repellent treatments
Environmental Impact of Moisture-Resistant Microtopping
Eco-friendly formulations
As sustainability becomes increasingly important, manufacturers are developing more environmentally friendly microtopping solutions:
- Low-VOC products: Reduce harmful emissions during application and curing
- Recycled content: Incorporation of post-consumer materials in microtopping mixtures
- Locally sourced materials: Reduce transportation-related carbon footprint
- Water-based sealers: Offer improved environmental profile compared to solvent-based alternatives
Sustainability in wet area flooring solutions
Microtopping can contribute to sustainable building practices in moisture-prone areas:
- Longevity: Durable microtopping reduces the need for frequent replacements
- Energy efficiency: Light-colored microtopping can reflect light, potentially reducing cooling needs
- Indoor air quality: Properly sealed microtopping can prevent mold growth, improving air quality
- Renovation potential: Microtopping can be applied over existing surfaces, reducing waste
- Sustainability benefits of microtopping in wet areas:
- Reduced material waste compared to tile installation
- Lower transportation costs due to minimal material thickness
- Potential for LEED credits in green building projects
- Improved indoor environmental quality through moisture management
FAQs
Is microtopping waterproof?
Microtopping itself is not inherently waterproof, but it can be made highly water-resistant. When properly installed and sealed, microtopping can effectively repel water and prevent moisture penetration. However, for areas with constant water exposure or high moisture vapor transmission, additional waterproofing measures may be necessary to ensure long-term performance.
How long does microtopping last in wet areas?
The lifespan of microtopping in wet areas can vary depending on several factors, including installation quality, maintenance, and the specific products used. With proper installation and regular maintenance, microtopping can last 10-15 years or more in wet environments. Factors that influence longevity include the quality of moisture management systems, frequency of use, and exposure to chemicals or harsh cleaning agents.
Can microtopping be used in shower floors?
Microtopping can be used on shower floors, but it requires careful consideration and proper installation. A waterproofing membrane should be applied beneath the microtopping to prevent water penetration into the substrate. Additionally, the microtopping should be sealed with a high-performance, water-resistant sealer designed for wet environments. Proper slope for drainage and regular maintenance are crucial for successful use in shower applications.
